It's getting too cold to work in my garage and I want to start on another tail for my new '78, so I dragged my '79 frame into the basement and put some panels on it. With some cardboard cut outs I am roughing out some contours for the tail

 Friday the 13th in November wasn't really on my radar screen since I normally don't like to freeze my butt off riding to Port Dover, so when it turned out to be nice I had to scramble to get it together to make the trek. Steve's bike was in the shop so I offered up my newest '78. The only problem was I had it all apart, so I had to bodge it back together to make it rideable and legal for the trip. Pretty was not in the equation.

 I was tired of riding around lost and I wanted to mount my GPS on my bike. I wanted a tank bag anyway so I made one with a pocket to hold the GPS and Velcro straps to attach it to the tank lid. Maps can be placed into the lower window. The GPS will run fine on battery power for awhile but I wanted to be able to plug it into the bike so I ran a wire from the aux terminal on the fuse box to a socket that I mounted to the choke cable bracket. A corresponding plug was attached to a three way cigarette lighter splitter which lives in the tank bag and the GPS plugs into this. To remove the bag and GPS, the Velcro is undone and the plug is pulled out of the choke cable. bracket


 Since I had the rear turn signals incorporated into the tail light, I thought for symmetry, I would try to incorporate the front turn signals into the headlight. Sounds easy. I want to place 6 high intensity LEDs into plexi tabs that I will slide into the sides of the headlight, so I need to lay out the design on a piece paper first. There also has to be space for the required resistor. Once I was happy with the design, I spray glued it to some plexi and cut out the tabs. The edges of the tabs needed to be thinned because they get pinched between the headlight and the ring that mounts to the back of the headlight. Slots were cut into the sides of the headlight with space for the wiring. The LEDs were hot glued into the plexi along with the resistors and everything was soldered and tested. Everything worked well, so the tabs were inserted into the slots and hot glued to the flange that encircles the headlight.
 I decided to fast track the LED installation by using an LED stop/tail light from a trailer light like the cafe tail previously and LED amber side marker light guts for the turn signals. They are mounted to a piece of thin plywood and the plywood is attached to the tail light mounting bolts. Everything fits like it was meant to be, so this may be the finished product. It will save me hours of work soldering LEDs


 In keeping with my Goldwing theme on my Goldwing I have decided to use the original mirrors but not in their original location. I did have some smaller stock looking round mirrors mounted below the handlebars which is a perfect location because you look back past the narrowest part of your body (unless you are a Harley guy). In the stock location I am always trying to see past my shoulders. So... I am making bar end mirrors out of the stock mirrors. I have cut the stems down and rethreaded them and welded corresponding nuts into the ends of the handlebars

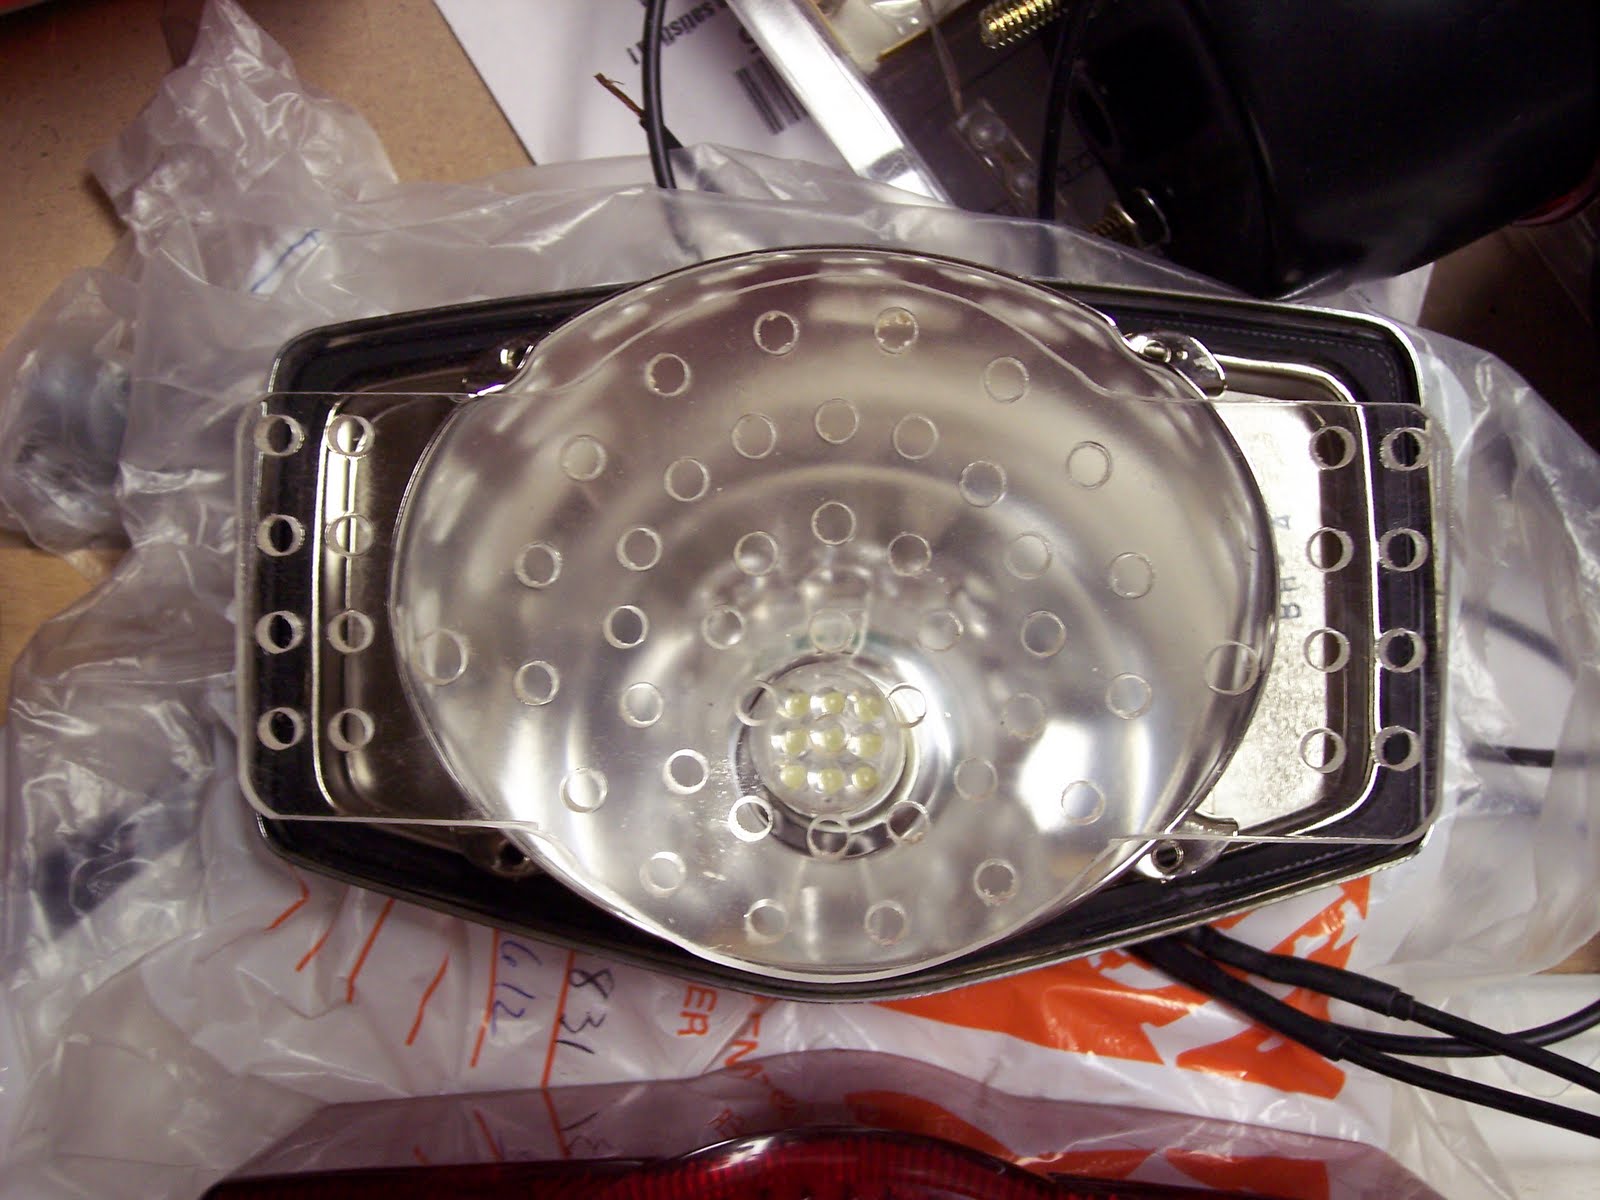
 I want to try and use LEDs in the stock tail light housing so I will use an old rusty bucket to experiment with. The reflector and socket have been removed and the LEDs have been laid out on a piece of paper. With reflector out the threaded holes used to mount the tail light can also be used to attach the plexi that will hold the LEDs by using longer mounting bolts. The corresponding nuts have been laid out on the paper as well to ensure there is no interference with the LEDs. Also, I am going to retain the central round area as the stop/tail light as original but use the rectangular areas on the sides as turn signals. This will allow me to ditch the large stock rear turn signals that I just made the brackets for. Two downward facing white LEDs will be used to illuminate the licence plate.